Alright so I went hunting through reusable bag tutorials for the past few days. I wanted to make a multi-purpose bag. Nothing too big, you know 'I need to pick up a few small items' kind of bag but that could double up as a small purse if needed. So it HAD to be cute and functional. It sounds easy enough to find something like that but I'm picky so it took me a few nights ;)
Finally I found this:
Little Bird Book Bag. It's SUPER cute and I fell in love with it right away!
I'm going to do my own walk through of this tutorial since I changed a few minor things with my own purse that you may want to do too. I love experimenting and trying new things and found I actually preferred my way - it was easier for me. Just remember that my changes were what was best for ME and MY skill level. If you're more comfortable you should try your own way, or if you rather do it to the original than do so. Always work with within your comfort zone or else projects that should be fun can turn into nightmare like chores :(
Anyways!
Now I followed the cutting of the sweater and the sewing of it exactly as the tutorial told me to.
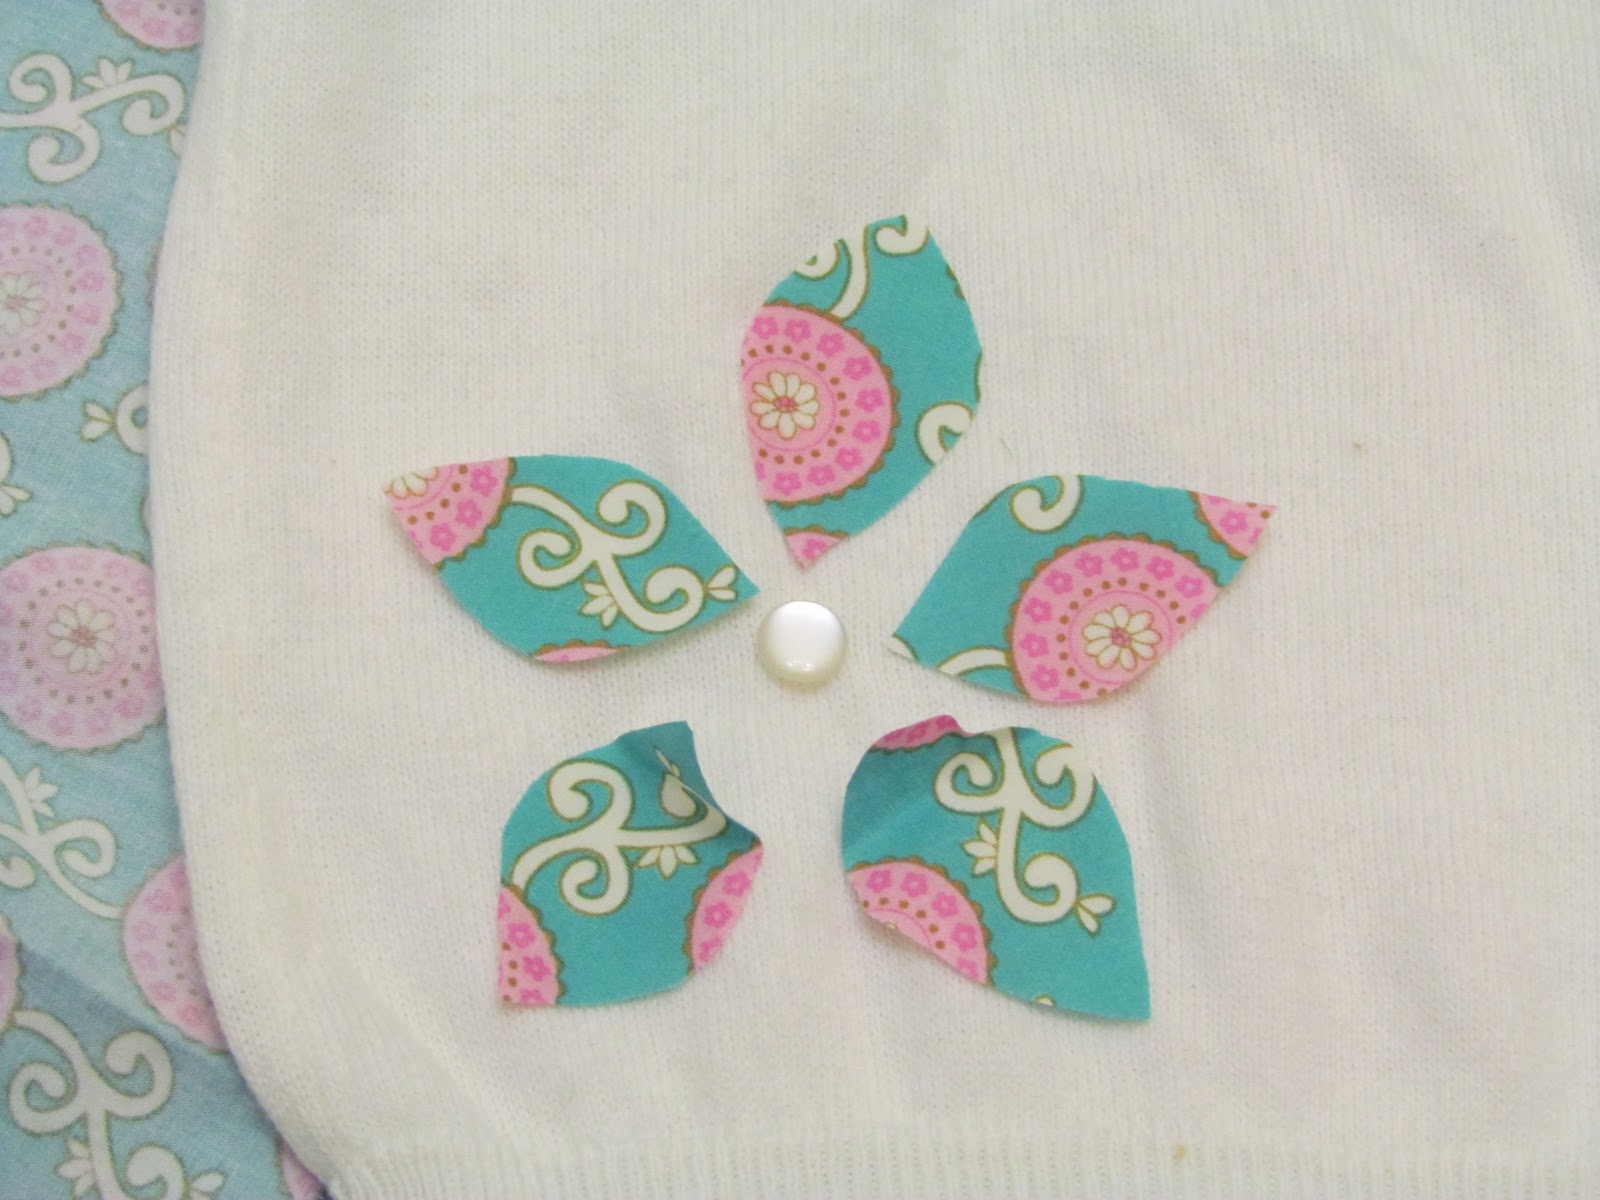
I then proceeded to change the bird to a flower. I also used my machine to sew on the flower... I wanted it to be secure and find my hand sewing lacks when it comes to loose knits.
 |
| I added a button from the sweaters top |
 |
| This is what it looked like after the flower was sewn on |
The next couple of photos are just me lining up the fabrics and then sewing them. DO NOT SKIP THE IRONING!!! I will admit I'm bad and sometimes skip the ironing on some projects... This is not one of them!
So being super awesome I managed to be short on material ;) I had two choices. Make a short handle...
Or sew a few pieces together and make a longer one.
I decided I liked the longer one. I four cut 2'' by 7'' pieces in the fabric I had left. I then sewed the pieces together, I didn't worry about lining up the fabric or anything. I thought it looked cuter being a little miss matched. I then ironed down the seams (pic below)
I then sewed the piece of fabric closed with a 1/4'' allowance. I ironed 1/2'' on both sides upwards. So the good side was showing 1/2'' against the rough side. I then turned the piece of fabric right side out making sure to keep the 1/2'' ends in place so they didn't pop back out.
I sewed all along the sides with a 1/4'' seam allowance. I then attached it to the purse in the same fashion that the tutorial used.
 |
| Close up of the strap |
And wa-la! We're done! That's what the bag looks like 100% done! I took this picture with the other strap pinned down still (silly me) I can upload some pictures of the inside of the purse later. :)


No comments:
Post a Comment