So I had to make two special little girls Aprons to help me bake in the kitchen. They are both pretty baking obsessed so I figured they'd enjoy their own little Apron and Oven Mitt.
I liked two different Tutorials
Mini Me Apron Set and
Childs Apron, but ultimately took pieces from both, combined them, and made my own. ;)
The
Mini Me Apron Set tutorial is 100% free. No fee at all but a lot of work due to the bias tape...
The
Childs Apron is not free... You have to pay some sort of membership fee to download the pattern but if you can make your own pattern the Tutorial aspect of the page is just fine. It's a VERY simple pattern/apron.
And below is MY version ;)
I used the
Mini Me Apron Set pattern to start off with.
What you need
1/2 yard of Side A
1/2 yard of side B
2 yards of ribbon
1/4 yard of towel material
Other basic sewing accessories
 |
| Side A |
 |
| Side B |
 |
| Pockets A and B |
Place one A and one B right sides together and sew together leaving an 1.5'' opening at the top of the two pieces. Use a 1/4'' seam allowance at the top but for the curve you can switch to 1/8''.
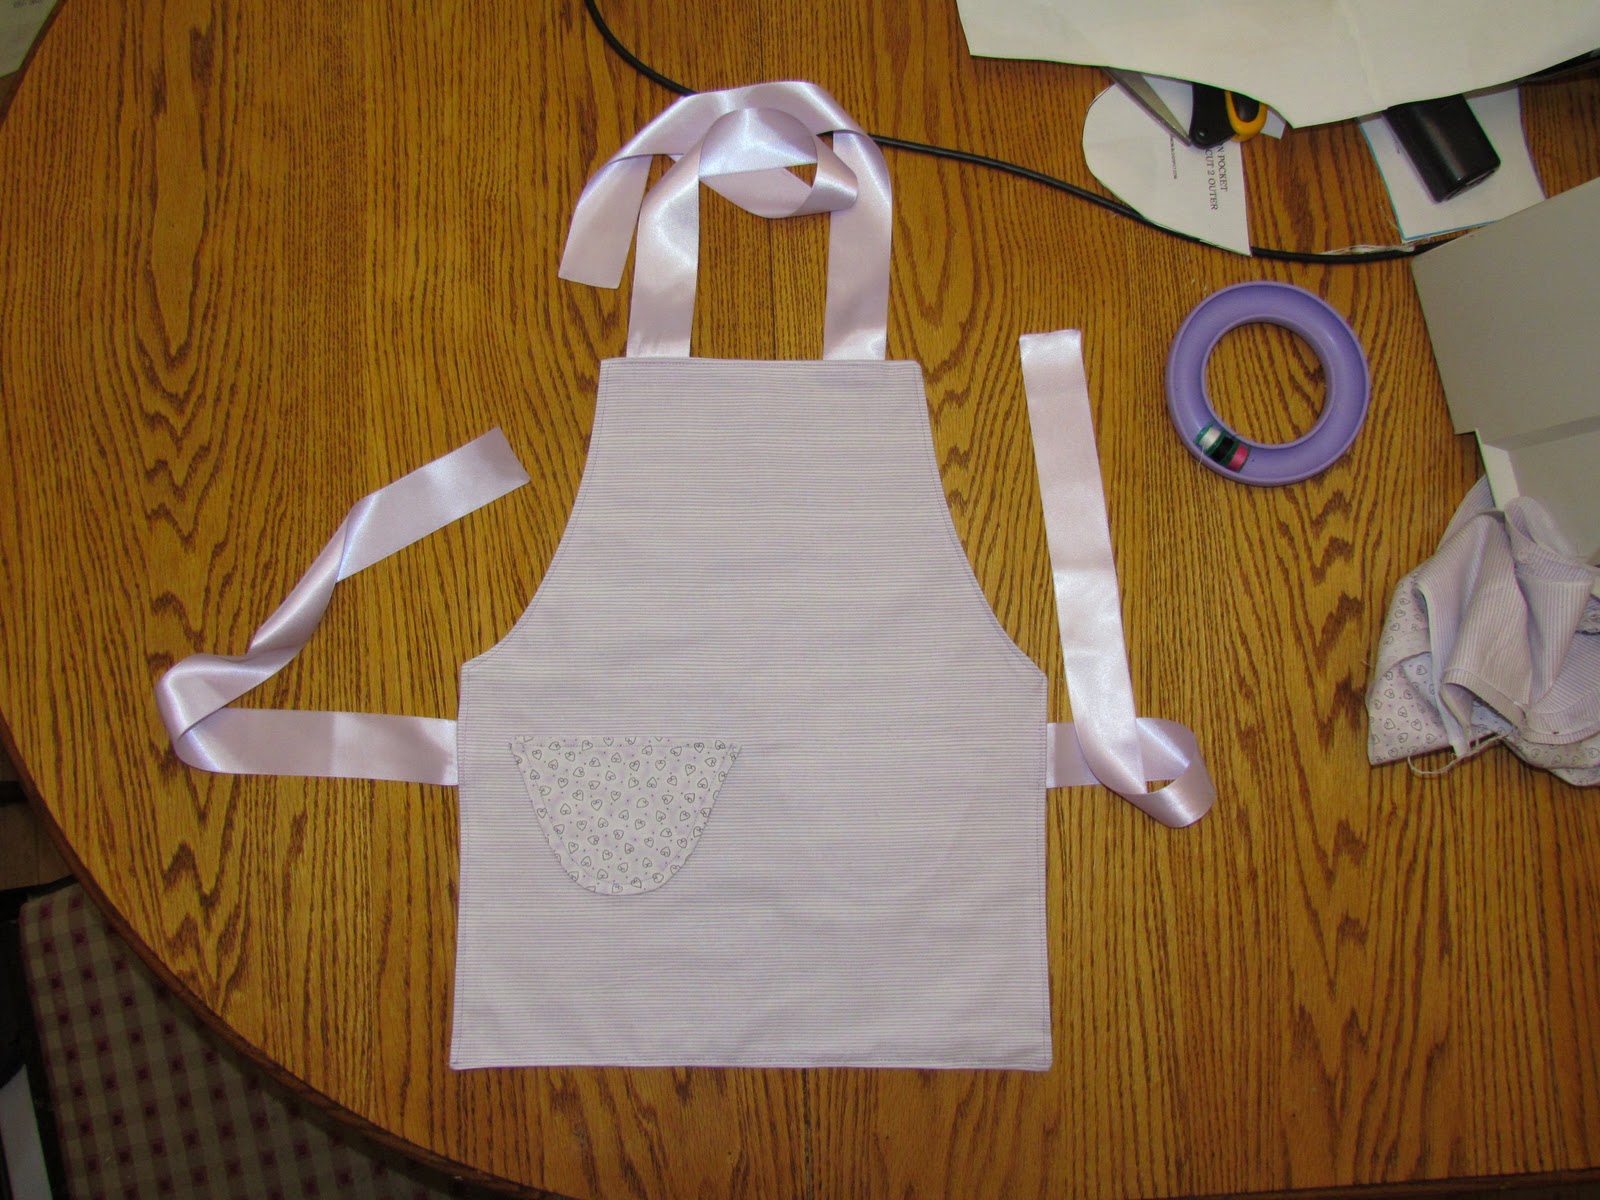
Turn the pieces right side out and iron the opening to fold inward like the picture above.
Sew to top closed. Then pin one pocket with reserve side out. You'll see in the picture above I put the Pocket B side up and the Pocket A side inwards to match and Apron A piece. Sew the pocket in place following the curve using a 1/8'' seam allowance, increase to 1/4'' if desired. Repeat on Apron B piece with Pocket A side up.
Next comes the 'ties' I heat sealed my ribbon ends to prevent fraying. I then pinned the ribbon on to the wrong side of the apron. You'll see above that I places the ribbon 1.5'' from the arm curve.
I used a few 'tacking stitches' about 1/8'' away from the aprons edge. I did this to all four pieces of ribbon. Two for the sides and two for the neck. The neck ribbons were place roughly 1'' from the sides.
You then tuck everything in and pin it Sides A and B together with right sides facing in and wrong sides facing out. Sew leaving an 1/4 seam allowance. Make sure that your ribbon is straight when you sew over it. It can become crocked if not checked.
 |
| Side A finished |
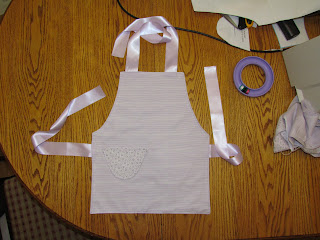 |
| Side B finished |
 |
| Side A finished |
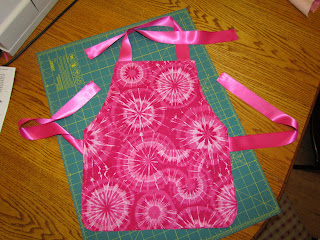 |
| Side B finished |
Cut the mittens out. Place the right sides together like the picture above and sew leaving a 1/4'' allowance.
Clip around the curved part of the mitten and the fingers. Turn the mitten right side out. Stick the towel mitten inside the outer shell. Fold the rough edges inwards twice... then iron. I only folded ONCE... As you'll see in the picture below it leaves an unsightly mess to do it my way so I suggest folding twice. Sew using an 1/4'' to 1/2'' seam allowance depending on how much you folded inwards.
 |
| Inside few of mitten. |
And that's my version of a Reversible Apron Tutorial + Oven Mit. :)