Friday, February 17, 2012

Lunch Ideas

I recently decided that I was going to start making 'Non-Bento' styled lunches for my little ones. I know my eldest doesn't start school for a while but I figured if I start making them now then I'll know what they will and will not eat and how big of portions to try.
Now a few of you have no idea what Bento is but it's a traditional Japaneese lunch. It's actually REALLY cool and if done properly can be super healthy and super cute at the same time ;). Sadly I'm just starting out so mine are only Bento inspired and not actually Bento. When I get some experience with what I'm working with I'll branch into more traditional Bento. I'm hoping to try egg molding this weekend ;) So I'll keep you posted!
Butterfly and Bumble Bee made from left over homemade MacNCheese, with a pepper flower, snap peas, yellow tomato, carrots, humus , and a few crackers.

Left over Hot Dogs, crackers, apple, cheese, cherry tomatoes, carrots. and peppers.
I know I promised a PJ tutorial a while back and it is coming, I've just been INSANELY busy.

Monday, February 13, 2012

Another Valentines Day Post!

I can hardly contain my excitement!
I searched and SEARCHED for something for my darling little ones for Valentines Day. I found TONS of candy, cheap plushies - which they have TONS of, and more candy...
So I went searching through the net to see what I could come up with. Originally I swore to myself to do something with as little chocolate/candy as possible... But that kinda went out the window when I found Non-Bento Totoro Chocolate.
I don't know about any of you readers but myself and my children are HUGE fans of Hayao Miyazaki. If you are unsure who that is... IMDB.com will give you a list of his work. I recommend (Along with Totoro) Ponyo, Arietty, Spirited Away, and Howls Moving Castle. Those ones I find are good for all ages. :)
Anyways enough about Mr. Miyazaki and how awesome he is ;)
I followed the tutorial to the letter and below are just a few pictures of my work. I also decided to make my litte one a chocolate letter ;)


And that's all for today! Enjoy :D

Tuesday, February 7, 2012

PJs!

I made PJs! I didn't even use a pattern! I'm so excited about this project! It was my first project using stabilizer too without 'adult super vision'. ;) Seriously though... I was kinda nervous about that. My mother-in-law was thankfully just a phone call away and walked me through the gathering part of this idea of mine. My Husqvarna is so alien to me sometimes... Lol it never fails though and I'm also insanely happy with the end results with it!
Anyways!
Onto the project!
Basically I took a pair of existing PJ bottoms for reference.

 Now I'll admit it... I got carried away and didn't photograph anything else of this little project... But here's what it looks like finished! YAY!


 I'm planning on making a few more pairs of PJs so I'll do another post another time with more in-depth details. :) Although I'm not doing the fancy trim on the legs any time soon... That was a fun learning experience but I've learned it's a lot of work for PJ pants ;)

Saturday, February 4, 2012

Valentines Day!

I can't express how happy I am that V-day is upon us! I usually don't buy into the commercialism of it all but with my eldest in pre-school and showing a big interest in giving out valentines I found myself googling and Pinteresting and becoming hooked! I didn't want to give anything sugary so I went to creative route ;)

I found these beautiful crafts and of course we did our own versions of them ;)

We did some of these Handprint Valentines - Honestly they look really cute but for kids that are just learning to write it was a bit of a chore... lol
Next we tried these cute crayons out! Heart Crayon We emptied our crayon bucket and took all the odd end ones, we also raided my in-laws crayon bucket and stole their broken ones too. The kids LOVED them. A word of advice, use a razor. Cut one line down the paper jacket, let the kids peel and break the crayons. This whole process takes like a minute or two. If you do it 'the old fashion way', you'll be peeling for five minutes and having children whining about how long it's taking and a lot of 'Are you done yet?'.
Darling Daughter can't sign her name yet so she signed her valentines with two thumb prints to make a heart.
Valentines 'Package'

A small v-day card, some goldfish, a crayon heart and some stickers :)
This is our handprint hearts before writing around the hearts. With the writing you can't tell what they are saying and the words go all over the page... lol
An that's what we've been up to for V-day! ;)

Monday, January 30, 2012

Reversible Apron Tutorial.

So I had to make two special little girls Aprons to help me bake in the kitchen. They are both pretty baking obsessed so I figured they'd enjoy their own little Apron and Oven Mitt.
I liked two different Tutorials Mini Me Apron Set and Childs Apron, but ultimately took pieces from both, combined them, and made my own. ;)
The Mini Me Apron Set tutorial is 100% free. No fee at all but a lot of work due to the bias tape...
The Childs Apron is not free... You have to pay some sort of membership fee to download the pattern but if you can make your own pattern the Tutorial aspect of the page is just fine. It's a VERY simple pattern/apron.
And below is MY version ;)
I used the Mini Me Apron Set pattern to start off with.

 What you need
1/2 yard of Side A
1/2 yard of side B
2 yards of ribbon
1/4 yard of towel material
Other basic sewing accessories

Side A

Side B

Pockets A and B
 Place one A and one B right sides together and sew together leaving an 1.5'' opening at the top of the two pieces. Use a 1/4'' seam allowance at the top but for the curve you can switch to 1/8''.
Turn the pieces right side out and iron the opening to fold inward like the picture above.

Sew to top closed. Then pin one pocket with reserve side out. You'll see in the picture above I put the Pocket B side up and the Pocket A side inwards to match and Apron A piece. Sew the pocket in place following the curve using a 1/8'' seam allowance, increase to 1/4'' if desired. Repeat on Apron B piece with Pocket A side up.
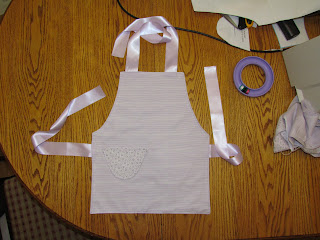
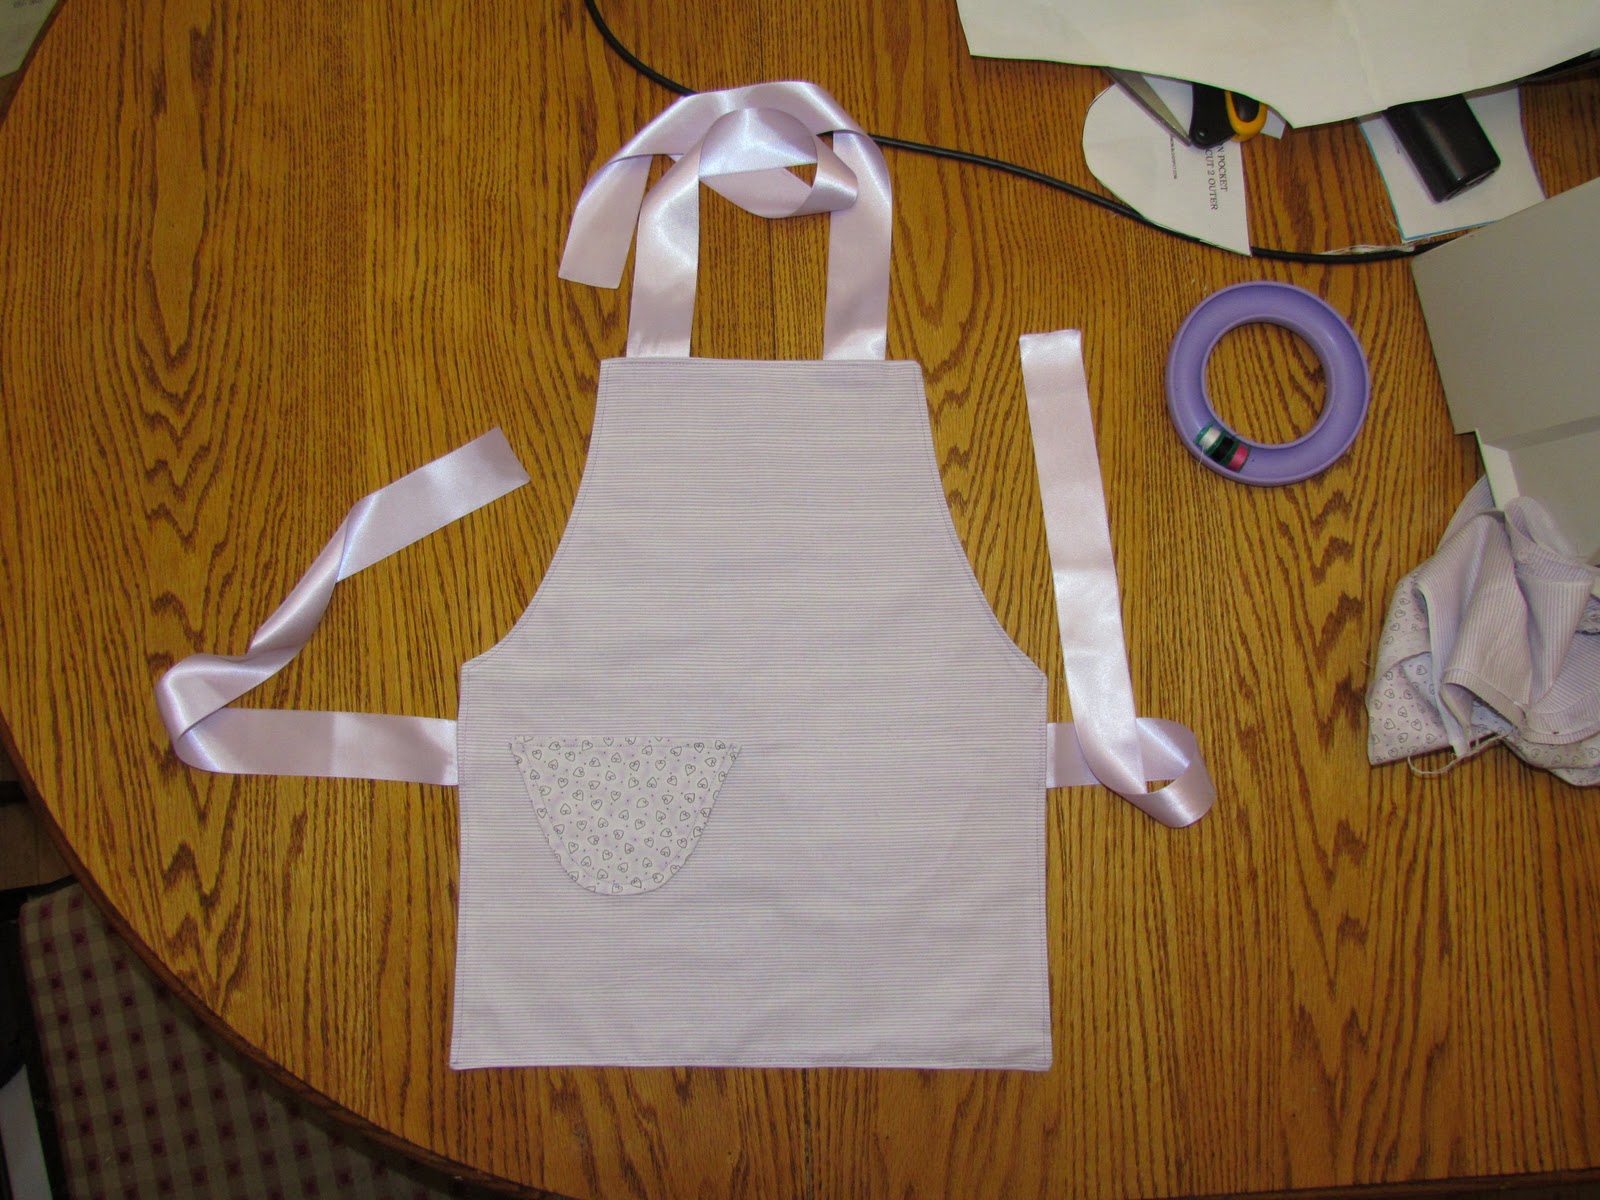
Next comes the 'ties' I heat sealed my ribbon ends to prevent fraying. I then pinned the ribbon on to the wrong side of the apron. You'll see above that I places the ribbon 1.5'' from the arm curve. 
 I used a few 'tacking stitches' about 1/8'' away from the aprons edge. I did this to all four pieces of ribbon. Two for the sides and two for the neck. The neck ribbons were place roughly 1'' from the sides.
 You then tuck everything in and pin it Sides A and B together with right sides facing in and wrong sides facing out. Sew leaving an 1/4 seam allowance. Make sure that your ribbon is straight when you sew over it. It can become crocked if not checked.
Side A finished
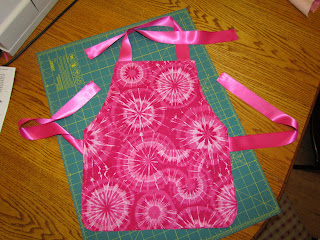
Side B finished

Side A finished
Side B finished 


 Cut the mittens out. Place the right sides together like the picture above and sew leaving a 1/4'' allowance.
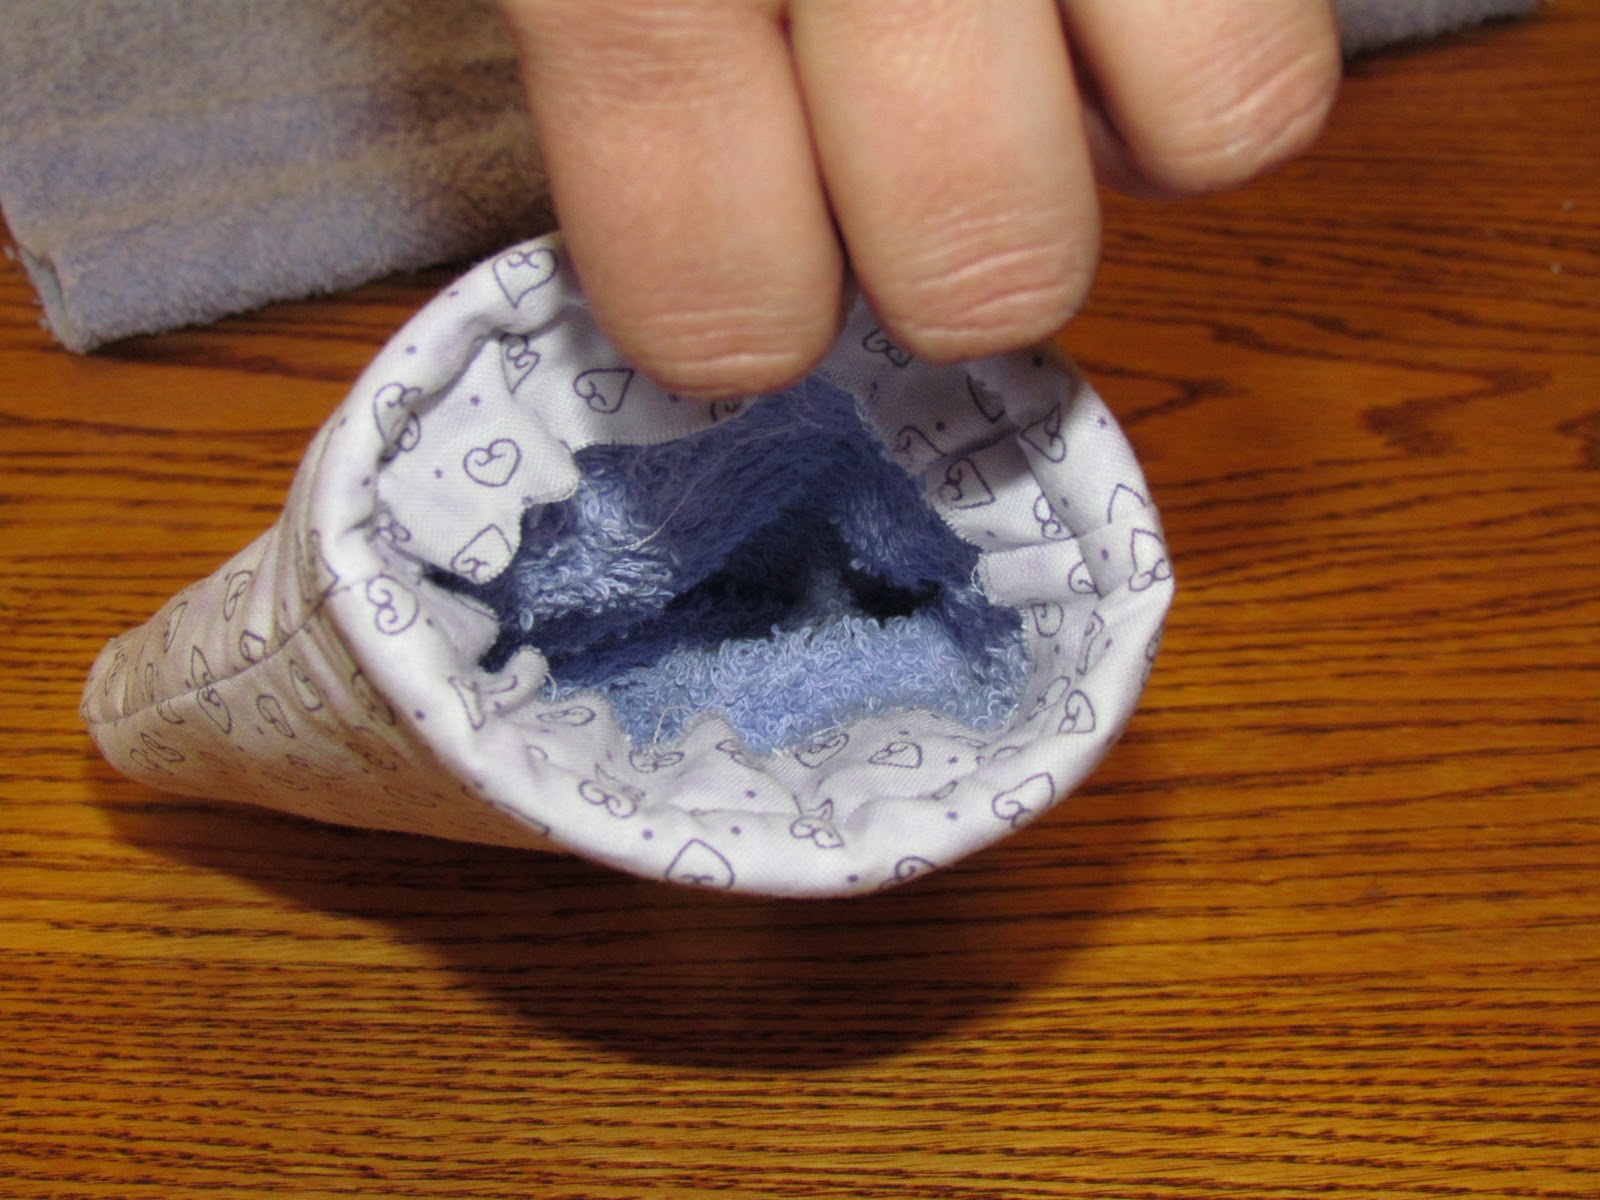
Clip around the curved part of the mitten and the fingers. Turn the mitten right side out. Stick the towel mitten inside the outer shell. Fold the rough edges inwards twice... then iron. I only folded ONCE... As you'll see in the picture below it leaves an unsightly mess to do it my way so I suggest folding twice. Sew using an 1/4'' to 1/2'' seam allowance depending on how much you folded inwards.
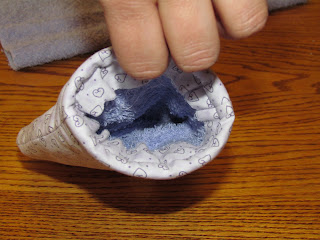
Inside few of mitten.
And that's my version of a Reversible Apron Tutorial + Oven Mit. :)

Friday, January 20, 2012

Baby Doll Diapers

Wow the 20th already!? OMGosh! I can't believe it's been so long since I updated last! Oh well I've been busy on Pinterest ;) The Gossamer Goddess Pinterest.
Well today I've been busy (Kinda) working on four projects.
I made Felt Baby Doll Diapers.
I followed this tutorial to the letter! It's SUPER easy and great for sewers, or non-sewers of all ages. If you can trace, cut and glue you can do this one!
Here's some pictures of my own version of the project!


And that's it! That's what I've been up to today... Among other things ;) But they aren't ready to post up yet! :) I'll get them up sometime in the future! ;) Promise! Till then keep it crafty!

Friday, January 6, 2012

Cute Reusable Bag!

Alright so I went hunting through reusable bag tutorials for the past few days. I wanted to make a multi-purpose bag. Nothing too big, you know 'I need to pick up a few small items' kind of bag but that could double up as a small purse if needed. So it HAD to be cute and functional. It sounds easy enough to find something like that but I'm picky so it took me a few nights ;)
Finally I found this: Little Bird Book Bag. It's SUPER cute and I fell in love with it right away!
I'm going to do my own walk through of this tutorial since I changed a few minor things with my own purse that you may want to do too. I love experimenting and trying new things and found I actually preferred my way - it was easier for me. Just remember that my changes were what was best for ME and MY skill level. If you're more comfortable you should try your own way, or if you rather do it to the original than do so. Always work with within your comfort zone or else projects that should be fun can turn into nightmare like chores :(

Anyways!

Now I followed the cutting of the sweater and the sewing of it exactly as the tutorial told me to.
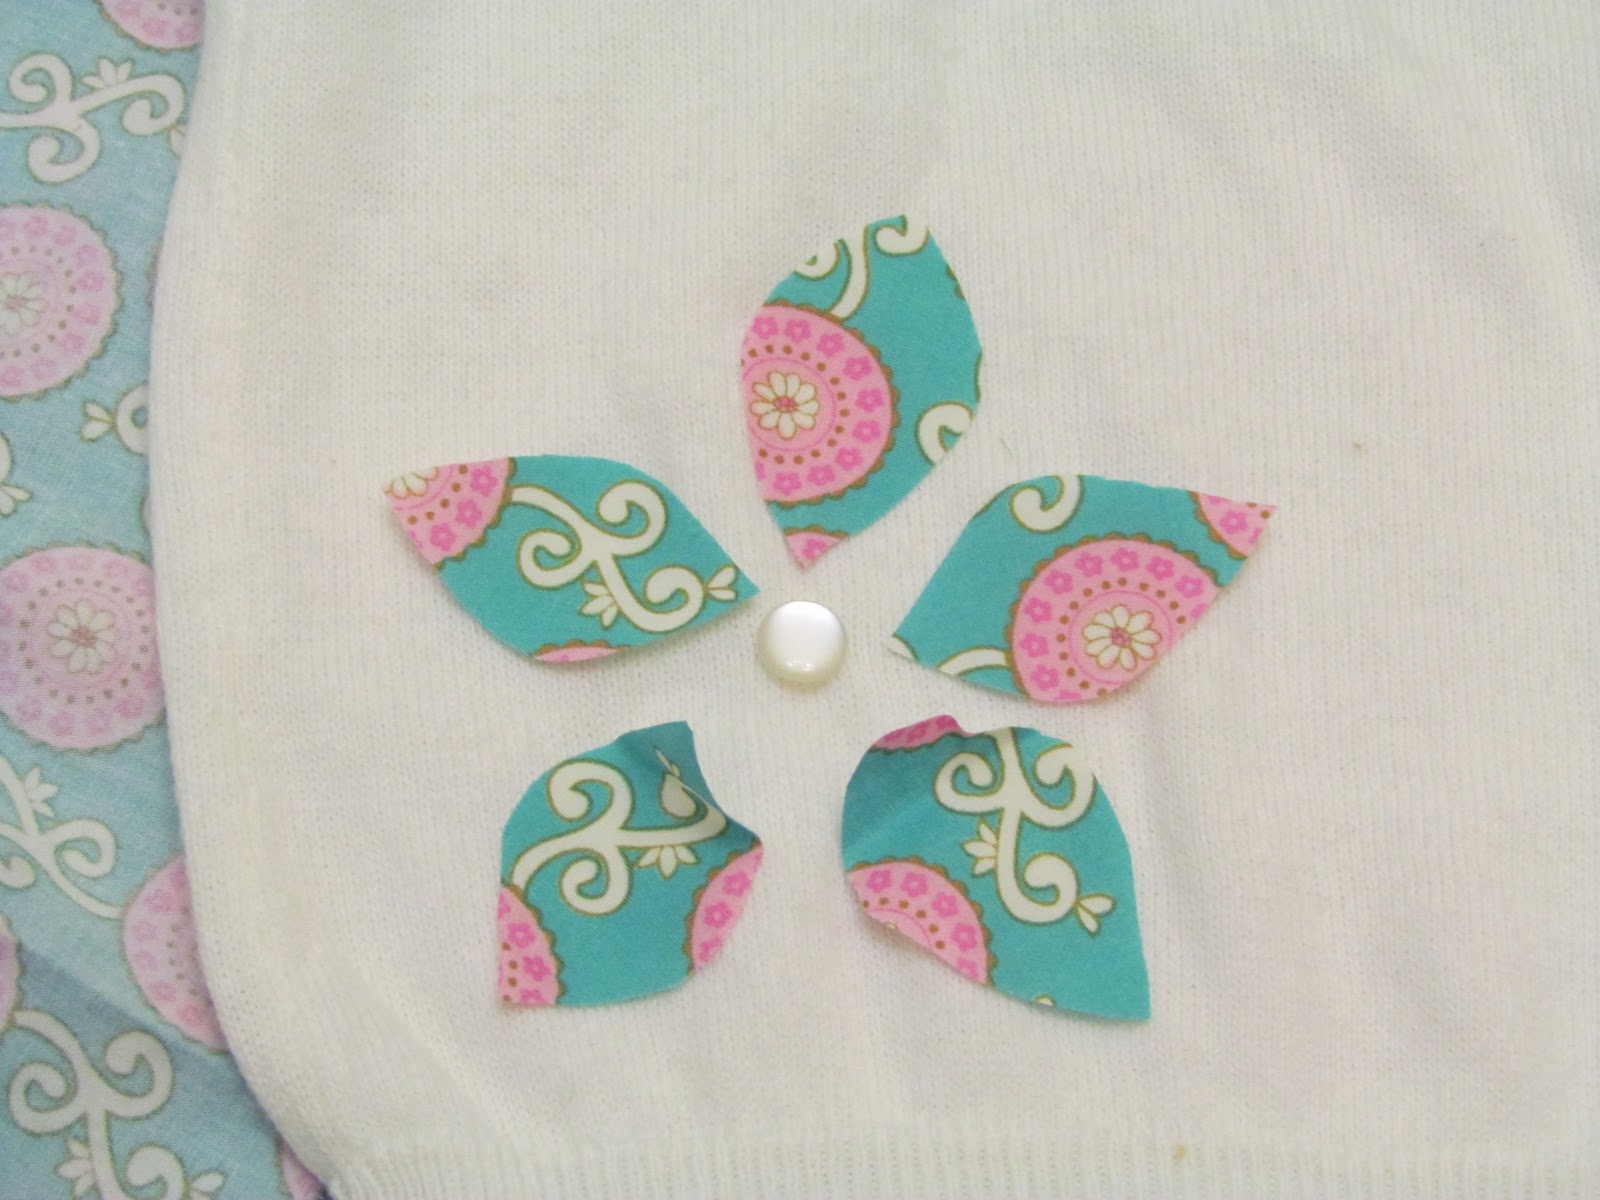
I then proceeded to change the bird to a flower. I also used my machine to sew on the flower... I wanted it to be secure and find my hand sewing lacks when it comes to loose knits.
I added a button from the sweaters top
This is what it looked like after the flower was sewn on
The next couple of photos are just me lining up the fabrics and then sewing them. DO NOT SKIP THE IRONING!!! I will admit I'm bad and sometimes skip the ironing on some projects... This is not one of them!

 So being super awesome I managed to be short on material ;) I had two choices. Make a short handle...
 Or sew a few pieces together and make a longer one.
 I decided I liked the longer one. I four cut 2'' by 7'' pieces in the fabric I had left. I then sewed the pieces together, I didn't worry about lining up the fabric or anything. I thought it looked cuter being a little miss matched. I then ironed down the seams (pic below)
 I then sewed the piece of fabric closed with a 1/4'' allowance. I ironed 1/2'' on both sides upwards. So the good side was showing 1/2'' against the rough side. I then turned the piece of fabric right side out making sure to keep the 1/2'' ends in place so they didn't pop back out.
 I sewed all along the sides with a 1/4'' seam allowance. I then attached it to the purse in the same fashion that the tutorial used.
Close up of the strap
And wa-la! We're done! That's what the bag looks like 100% done! I took this picture with the other strap pinned down still (silly me) I can upload some pictures of the inside of the purse later. :)